❄️Winter sale! Get 20% off with code WINTER at checkout
Feature
Authentication
Authentication is a critical aspect of building any software as a service product. It is the process of verifying the identity of users who access your platform, and ensuring that only authorized users can access the features and data within it.
Technologies
How is it built?
Learn more about the technologies behind this feature.
AWS Cognito
AWS Cognito is a fully-managed service provided by Amazon Web Services (AWS) that provides user sign-up, sign-in, and access control functionalities for web and mobile applications. It is a scalable and secure user directory that can handle user authentication and authorization for millions of users.
React
Volca uses React to build all the UI components and pages for a beautifully designed authentication solution.
TypeScript
TypeScript provides a robust type system that enables developers to catch potential authentication-related errors during the development phase. Additionally, TypeScript's strong typing allows for better code documentation and editor support.
Screenshots
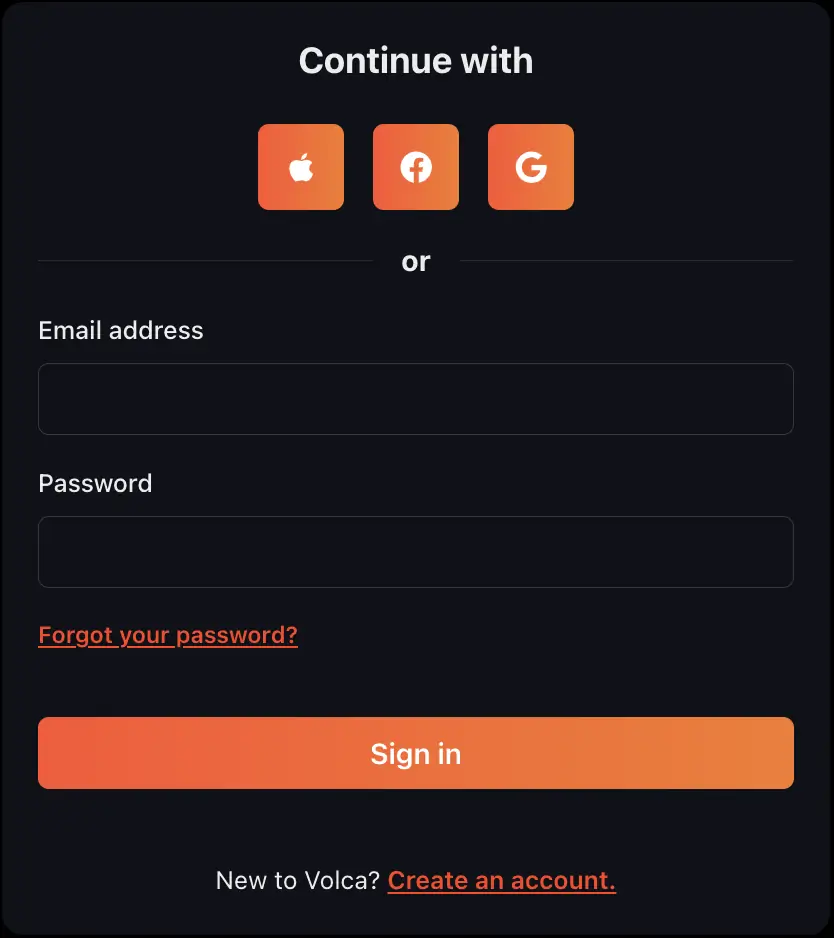
The sign in page
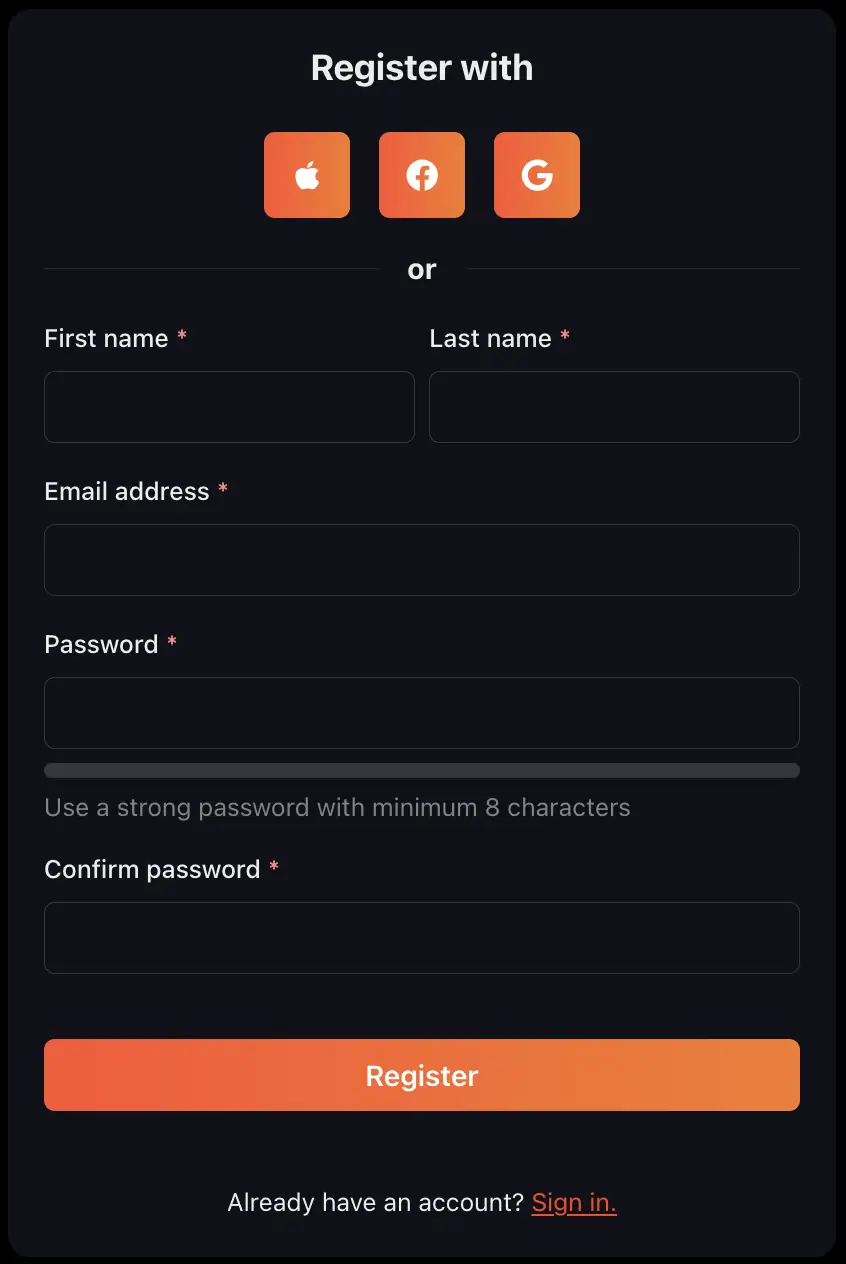
The sign up page
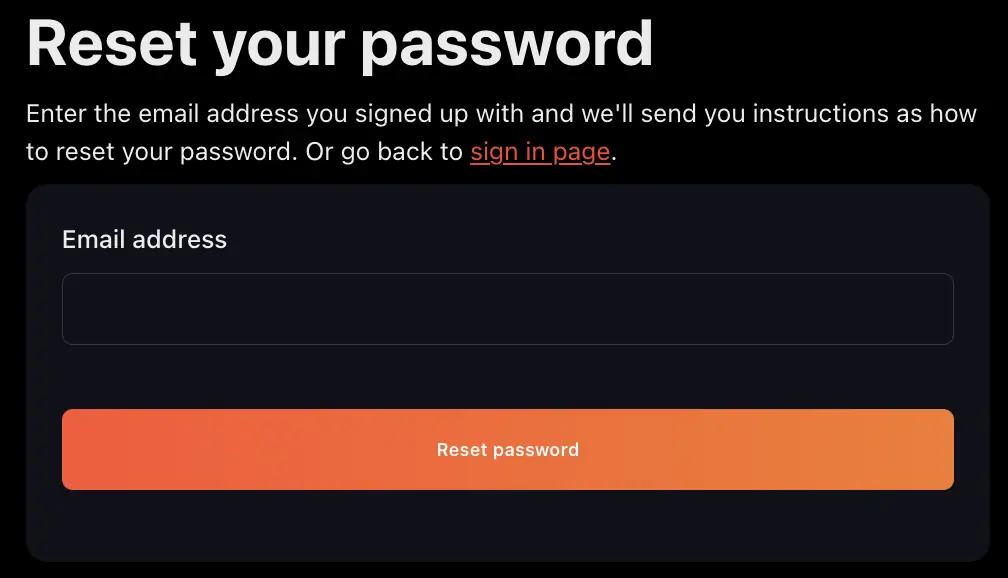
The reset password page
Examples
To secure your API, you need an authentication mechanism to ensure that the users calling your API is who they claim to be. This is usually done by providing some sort of proof in each request made to the API. For example a token that is obtained when signing in.
The Volca API comes with security built in by providing an authentication middleware that can be used in your routes. It's as simple as adding the authentication middleware to your route and any request will require an access token obtained from AWS Cognito to get access to the endpoint.
router.get('/projects',authenticationMiddleware,createProjectAction);
When a route has the authentication middleware, the authenticated user will also be available in the request context and you can access the user object in your endpoint.
export const action = useApiAction(async (ctx: CustomContext) => {const { user } = ctx;return {body: {message: `Hello ${user.firstName}!`,},};});
Once the user signs in with any of the configured authentication methods, the dashboard will receive a set of tokens from AWS Cognito. The ID token will be sent to the API to create a user if it does not exist or return an existing user. This user will then be available in a React context throughout the application.
export const MyComponent = () => {const { user } = useAuthContext();return <Text>Hello {user.firstName}!</Text>;}
When the user is signed in, you can also use the pre-built API actions to make authenticated calls towards the API:
const { createApiAction } = useApiActions();createApiAction(async ({ client, publicClient }) => {const { project } = await client.post('projects', { json: body }).json<{ project: Project }>();return project;})
Support
FAQs
Frequently asked questions about Volca. Can't find what you are looking for? Feel free to contact us.
SaaS Starter Kit and Boilerplate
© 2024 SaaS Boilerplate and Starter Kit with Node.js and React - Volca.