❄️Winter sale! Get 20% off with code WINTER at checkout
Blog
Web application hosting using AWS CDK and TypeScript
In this blog post we will go through how to host and serve a web application on AWS with the help of the Cloud Development Kit (CDK) and services such as S3, CloudFront and Route53.

Overview
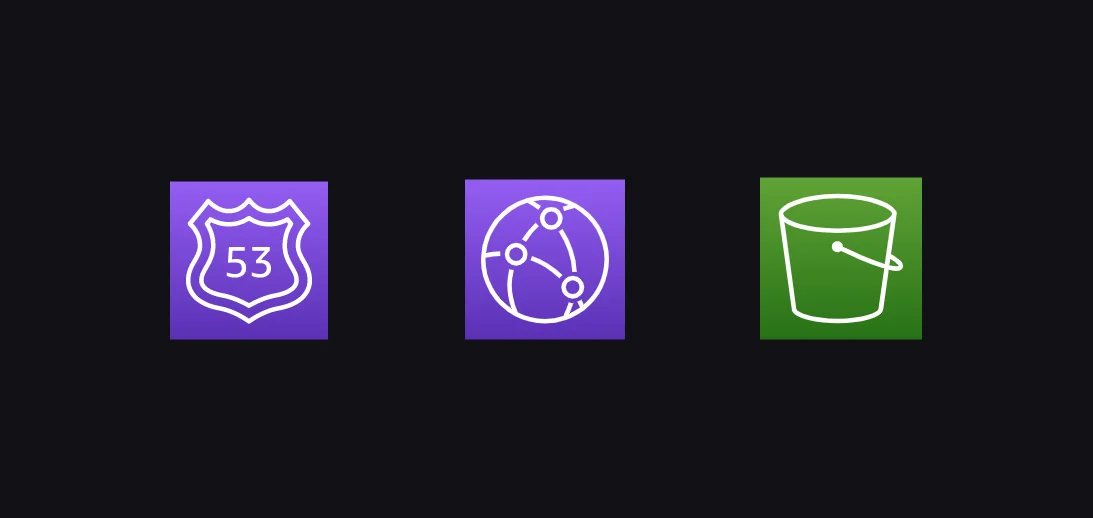
What we want to achieve with this tutorial is to host and serve a HTML based web application. For that, we will need the following resources:
- An S3 bucket for file hosting
- A CloudFront distribution for CDN
- A Route 53 managed hosted zone for our custom domain
- An ACM managed SSL certificate to enable HTTPS with our custom domain
This article explains each resource that needs to be created and how they fit together. The full source code is available on GitHub.
Defining the stack
Let's start with defining the stack that all of our resources will reside:
import { Stack, StackProps } from 'aws-cdk-lib';import { Construct } from 'constructs';interface WebappStackProps extends StackProps {domain: string;}export class WebappStack extends Stack {constructor(scope: Construct, id: string, props: WebappStackProps) {super(scope, id, props);}}
This will create an empty stack. Next, let's define the resources we need to host a web application.
Bucket and origin access identity
The below code creates a bucket that will hold the HTML and asset files that make up the web application.
const bucket = new Bucket(this, 'WebappHostingBucket', {websiteIndexDocument: 'index.html',websiteErrorDocument: 'index.html',blockPublicAccess: new BlockPublicAccess({ restrictPublicBuckets: false }),removalPolicy: RemovalPolicy.DESTROY,autoDeleteObjects: true,});
The below code creates an origin access identity (OAI) that allows the CloudFront CDN to access the S3 bucket and serve the files inside it.
const oai = new OriginAccessIdentity(this, 'WebappCloudFrontOriginAccessIdentity');bucket.grantRead(oai.grantPrincipal);
Hosted zone and certificate
The below code creates a hosted zone that holds the domain that we want to use for our web application
const hostedZone = new HostedZone(this, 'HostedZone', { zoneName: props.domain });
Let's add the Route 53 name servers for our domain as outputs to the stack. Once the stack is deployed, you need to point your domain to these name servers.
if (hostedZone.hostedZoneNameServers) {new CfnOutput(this, 'NameServers', { value: Fn.join(', ', hostedZone.hostedZoneNameServers) });}
Next, let's create an ACM managed certificate that allows us to enable HTTPS for the web application
const certificate: DnsValidatedCertificate | null = new DnsValidatedCertificate(this, 'Certificate', {domainName: props.domain,subjectAlternativeNames: [props.domain, `www.${props.domain}`],validation: CertificateValidation.fromDns(hostedZone),region: 'us-east-1',hostedZone: hostedZone,cleanupRoute53Records: true,});
CloudFront distribution (CDN)
The below code creates a CloudFront distribution that acts as a CDN for our web application. The CloudFront distribution points to our S3 bucket as an origin and uses our ACM certificate.
const distribution = new CloudFrontWebDistribution(this, 'WebappDistribution', {viewerCertificate: ViewerCertificate.fromAcmCertificate(certificate, {aliases: [props.domain, `www.${props.domain}`],securityPolicy: SecurityPolicyProtocol.TLS_V1_2_2021,sslMethod: SSLMethod.SNI,}),originConfigs: [{s3OriginSource: {s3BucketSource: bucket,originAccessIdentity: oai,},behaviors: [{ isDefaultBehavior: true }],},],errorConfigurations: [{errorCode: 404,errorCachingMinTtl: 300,responseCode: 200,responsePagePath: '/index.html',},],});bucket.grantRead(oai.grantPrincipal);
A-record
Finally, an A-record is created in our hosted zone that points the domain to the CloudFront distribution that serves our web application
new ARecord(this, 'WebappARecord', {target: RecordTarget.fromAlias(new CloudFrontTarget(distribution)),zone: hostedZone,recordName: `${props.domain}`,});
Now we have defined all of the resources required to host our web application!
Deploy
Follow the below steps to deploy the stack:
- Run yarn
- Add your configuration to config.json - leave nsConfigured as false
- Run yarn deploy
- Configure the name servers of your domain with the name servers in the stack output from the AWS console
- Wait for the change to propagate
- Update config.json with "nsConfigured": true
- Run yarn deploy
- Done! 🎉
SaaS Starter Kit and Boilerplate
© 2024 SaaS Boilerplate and Starter Kit with Node.js and React - Volca.